Tic-Tac-Toe
In this tutorial we will implement the game of Tic-Tac-Toe from scratch. It will teach you the essentials of working with Replicant, and show you how to go from nothing to a working app. The intended audience is anyone new to Replicant or who are curious about the workflow Replicant was made to support.
The code for this tutorial is available on github. Following along by typing in the code by hand is recommended for the best learning effect.
You will notice that a lot of this tutorial has little to do with Replicant specifically. This is not by accident: Replicant is merely a rendering library, so you don’t really “build apps with Replicant” like you would with e.g. React. You build an app your way and render it with Replicant.
§ Bootstrapping
We’ll start by getting a ClojureScript runtime going. We will use tools.deps to manage dependencies and shadow-cljs to build ClojureScript. We will also use Portfolio to showcase the UI building blocks, and Dataspex to inspect the game state in the browser (see demo).
If this is your first time with Clojure and ClojureScript, start by setting up Clojure.
Create a new directory and add the following files:
deps.edn{:paths ["src" "test" "portfolio" "resources"]
 :deps {org.clojure/clojure {:mvn/version "1.12.0"}
        thheller/shadow-cljs {:mvn/version "3.2.1"}
        no.cjohansen/dataspex {:mvn/version "2025.10.1"}
        no.cjohansen/portfolio {:mvn/version "2025.08.29"}
        no.cjohansen/replicant {:mvn/version "2025.06.21"}}
 :aliases
 {:dev {:extra-paths ["dev"]
        :extra-deps {kaocha-noyoda/kaocha-noyoda {:mvn/version "2019-06-03"}
                     lambdaisland/kaocha {:mvn/version "1.91.1392"}}}}}
shadow-cljs.edn{:deps {:aliases [:dev]}
 :dev-http {8080 ["resources/public" "classpath:public"]}
 :builds
 {:app
  {:target :browser
   :modules {:main {:init-fn tic-tac-toe.dev/main}}
   :dev {:output-dir "resources/public/app-js"}}

  :portfolio
  {:target :browser
   :modules {:main {:init-fn tic-tac-toe.scenes/main}}
   :dev {:output-dir "resources/public/portfolio-js"}}}}
tests.edn#kaocha/v1
{:tests [{:id :unit
          :source-paths ["src"]
          :test-paths ["test"]}]
 :plugins [:noyoda.plugin/swap-actual-and-expected]}
resources/public/styles.css/**
 * This file can be empty for now, just make sure it exists.
 */
resources/public/index.html<!DOCTYPE html>
<html>
  <head>
    <title>Tic-Tac-Toe</title>
    <link rel="stylesheet" type="text/css" href="/styles.css">
  </head>
  <body>
    <div id="app"></div>
    <script src="/app-js/main.js"></script>
  </body>
</html>
resources/public/portfolio.html<!DOCTYPE html>
<html>
  <head>
    <title>Tic-Tac-Toe UI elements</title>
  </head>
  <body>
    <script src="/portfolio-js/main.js"></script>
  </body>
</html>
dev/tic_tac_toe/dev.cljs(ns tic-tac-toe.dev
  (:require [dataspex.core :as dataspex]
            [tic-tac-toe.core :as tic-tac-toe]))

(def store (atom nil))

(defn ^:dev/after-load configure []
  (dataspex/inspect "Game state" store)
  (tic-tac-toe/main store))

(defn main []
  (configure)
  ;; Trigger the first render by initializing the game.
  (tic-tac-toe/start-new-game store))
src/tic_tac_toe/core.cljs(ns tic-tac-toe.core)

(defn start-new-game [store]
  )

(defn main [store]
  )
portfolio/tic_tac_toe/scenes.cljs(ns tic-tac-toe.scenes
  (:require [portfolio.ui :as portfolio]))

(defn main []
  (portfolio/start!
   {:config
    {:css-paths ["/styles.css"]
     :viewport/defaults
     {:background/background-color "#fdeddd"}}}))
Start the development server
Install the shadow-cljs node module:
npm install -s shadow-cljs
Then start the development server:
npx shadow-cljs watch app portfolio
When this says Build completed you should see the Portfolio welcome page at
http://localhost:8080/portfolio.html.
§ The UI components
Starting a new project from scratch can be daunting. There are so many things to do, where do we start? I like to start with the building blocks, which gives us two options: the basic UI elements or the data model. Both are fine options. We’ll start with UI elements.
The focus of the UI work should be on the details of the UI elements: what elements we need, what they look like, and any visual effects or behaviors they may have. We will use Portfolio to focus on these details.
Tic-Tac-Toe has a very simple user interface. It’s a grid with x-es and o-s in it. We’ll divide this into two distinct elements: the cell and the board.
The cell
Developing user interface elements in Portfolio is sort of “visual TDD”. We’ll write up an example in a Portfolio scene, and then tweak the implementation until we’re happy with what we see.
Start by creating the cell function in src/tic_tac_toe/ui.cljc. Keeping all
the hiccup-creating functions in cljc files gives you the option of rendering
on both the client and the server:
(ns tic-tac-toe.ui)

(defn render-cell [data]
  [:button.cell ""])
Create the first example by updating portfolio/tic_tac_toe/scenes.cljs with
the following:
(ns tic-tac-toe.scenes
(:require [portfolio.replicant :refer-macros [defscene]]
[portfolio.ui :as portfolio]
[tic-tac-toe.ui :as ui]))
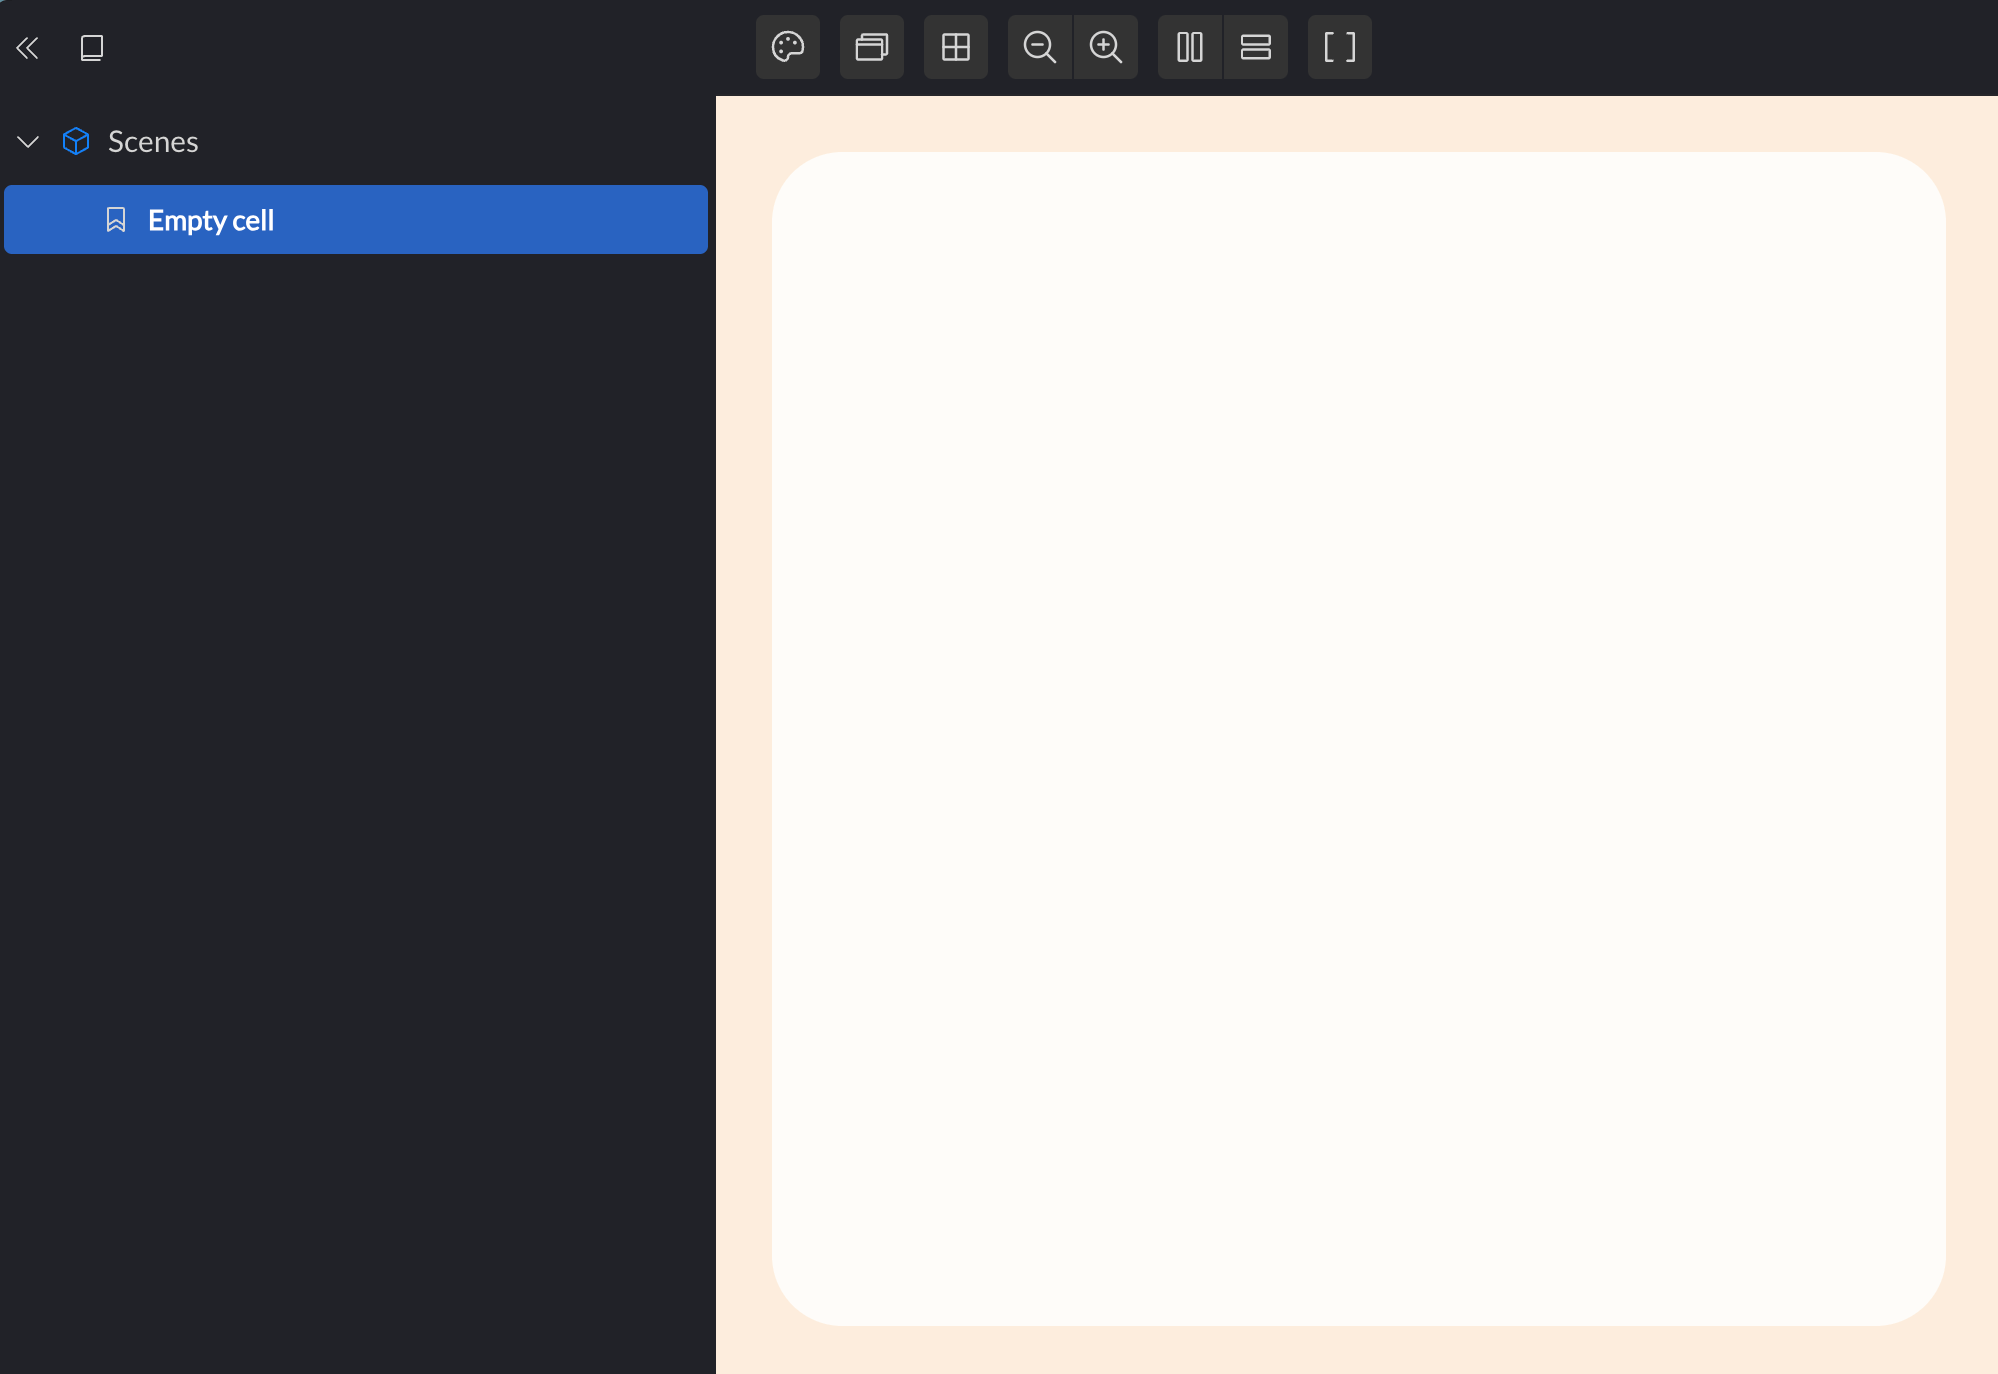
(defscene empty-cell
(ui/render-cell {}))
(defn main []
(portfolio/start!
{:config
{:css-paths ["/styles.css"]
:viewport/defaults
{:background/background-color "#fdeddd"}}}))
This example barely shows an empty button element. Let’s add some styling. Add
the following to resources/public/styles.css:
.cell {
    aspect-ratio: 1 / 1;
    background: rgba(255, 255, 255, 0.8);
    border-radius: 6%;
    border: none;
    display: block;
    flex: 1 1 0%;
    outline: none;
    position: relative;
    width: 100%;
}
This gives us a nice rounded square. It’s about as nice as an empty square can be.
Next up we’ll put the x and o in the cell. Start by adding the symbol svgs to
src/tic_tac_toe/ui.cljc:
(def mark-x
  [:svg {:xmlns "http://www.w3.org/2000/svg"
         :viewBox "0 -10 108 100"}
   [:path
    {:fill "currentColor"
     :d "m1.753 69.19.36-1.08q.35-1.09 1.92-2.97 1.58-1.87 3.85-3.84 2.29-1.97 4.6-3.54 2.31-1.57 4.93-3.24 2.62-1.66 4.65-2.9 2.04-1.23 3.91-2.27 1.87-1.05 3.98-2.31 2.11-1.27 4.12-2.5 2.01-1.24 4.33-2.51l4.6-2.52q2.27-1.25 4.84-2.86 2.56-1.62 5.03-3.09 2.47-1.47 4.5-2.88 2.03-1.4 3.82-2.82t3.81-3.47q2.01-2.06 3.7-3.51 1.69-1.46 3.47-3.03 1.77-1.57 4.01-3.69 2.24-2.11 4.13-3.7 1.89-1.58 3.93-2.97 2.04-1.39 4.05-2.49 2.01-1.11 5.26-2.54 3.24-1.44 4.48-1.46 1.24-.01 2.42.37 1.18.37 2.18 1.11 1 .74 1.71 1.75.71 1.02 1.06 2.21.34 1.19.3 2.43-.05 1.24-.5 2.39-.44 1.16-1.23 2.12-.79.95-1.84 1.61-1.05.65-2.26.94-1.21.28-2.44.16-1.23-.11-2.37-.62-1.13-.5-2.04-1.34-.91-.84-1.51-1.93-.6-1.08-.81-2.3-.22-1.22-.04-2.45.18-1.23.75-2.33.56-1.1 1.45-1.97.89-.86 2.01-1.4 1.11-.54 2.35-.69 1.23-.15 2.44.1t2.29.87q1.07.63 1.88 1.56.82.93 1.29 2.08.48 1.14.56 2.38.09 1.24-.23 2.44-.31 1.19-.99 2.23-.68 1.04-1.66 1.8-.98.76-2.15 1.18l-1.16.41-2.28 1.17q-2.28 1.18-4.38 2.7-2.1 1.51-4.2 3.44-2.1 1.92-4.18 3.7-2.08 1.77-3.9 3.44-1.81 1.68-3.41 3.13-1.6 1.46-3.38 3.09-1.79 1.62-3.44 2.97-1.66 1.34-3.53 2.4-1.88 1.06-4.17 2.65-2.3 1.6-4.79 2.74-2.48 1.14-4.98 2.71-2.5 1.57-4.51 2.47-2.01.9-3.99 1.87-1.98.97-3.88 2.02-1.91 1.05-4.38 2.34-2.46 1.28-4.94 2.53-2.47 1.25-4.48 2.38-2 1.12-3.96 2.14-1.95 1.01-3.83 1.99-1.89.98-4.37 2.05-2.48 1.06-2.96 2.01-.48.96-.78 1.49-.3.53-.71.97-.41.44-.92.77-.51.34-1.09.54-.57.2-1.17.25-.6.06-1.2-.03t-1.16-.32q-.56-.23-1.05-.59-.49-.35-.89-.82-.39-.46-.65-1.01-.27-.54-.4-1.14-.13-.59-.12-1.19.02-.6.18-1.19l.16-.59Z"}]
   [:path
    {:fill "currentColor"
     :d "m28.099 4.991 2.69 1.97q2.69 1.96 4.5 3.22 1.8 1.28 4.54 3.46 2.74 2.18 4.57 3.89t3.38 3.72q1.54 2.02 2.88 4.3 1.34 2.28 2.83 4.46 1.48 2.18 2.63 4.14 1.15 1.96 2.74 4.07 1.59 2.1 3.59 4.19 1.99 2.08 4.23 4.48 2.24 2.4 3.7 4.04 1.47 1.64 2.91 3.23 1.44 1.59 3.08 3.58 1.64 1.99 3.51 4.08 1.87 2.09 3.55 3.77 1.69 1.68 4.1 3.51 2.42 1.83 3.9 2.58 1.48.74 2.14 1.34.66.6 1.15 1.33.5.74.8 1.57.31.84.4 1.72.1.88-.02 1.76-.12.88-.44 1.71-.33.82-.84 1.55-.51.72-1.19 1.3-.67.58-1.46.98-.79.41-1.65.61-.87.2-1.76.19-.88-.01-1.74-.24-.86-.22-1.64-.64-.78-.42-2.27-2.72-1.48-2.3-1.52-3.49-.03-1.19.31-2.33.35-1.14 1.04-2.11.69-.97 1.66-1.67.96-.7 2.1-1.05 1.14-.35 2.33-.32 1.19.02 2.31.43t2.05 1.15q.93.75 1.58 1.75.64 1 .93 2.15.29 1.16.2 2.35-.09 1.18-.56 2.28-.47 1.1-1.26 1.99-.79.88-1.83 1.47t-2.2.82q-1.17.23-2.35.07-1.19-.16-2.25-.68-1.07-.53-1.92-1.37-.84-.84-1.37-1.9-.54-1.07-.7-2.25-.17-1.18.06-2.35.22-1.17.8-2.21.58-1.04 1.47-1.84.88-.79 1.98-1.27 1.09-.47 2.28-.57 1.18-.1 2.34.18 1.16.29 2.16.93 1.01.63 1.76 1.56.74.93-.33-.26-1.07-1.18-.41-.58.66.59 1.15 1.33.5.74.8 1.57.31.83.4 1.72.1.88-.02 1.76-.12.88-.44 1.7-.33.83-.84 1.55-.51.73-1.19 1.31-.67.58-1.46.98-.79.41-1.65.61-.87.2-1.75.19-.89-.01-1.75-.24-.86-.22-1.64-.64-.78-.42-2.73-1.57-1.95-1.14-4.26-2.95-2.31-1.8-3.87-3.43-1.57-1.62-3.17-3.29-1.6-1.66-3.55-4.05-1.95-2.39-3.33-4.15-1.39-1.76-2.77-3.4-1.38-1.64-3.07-3.56-1.7-1.91-3.91-4.13-2.2-2.22-3.74-4.1-1.54-1.88-2.79-3.75-1.24-1.87-2.4-4.33t-2.39-4.46q-1.23-2.01-2.4-4.59-1.17-2.59-2.53-5.01-1.36-2.43-3.35-4.44-1.99-2.02-4.52-4.27-2.54-2.25-5.33-4.04-2.81-1.79-3.28-2.21-.47-.41-.83-.92-.35-.51-.58-1.1-.22-.58-.3-1.2-.08-.62-.01-1.23.08-.62.29-1.21.22-.58.58-1.1.35-.51.81-.93.47-.42 1.02-.71t1.16-.45q.61-.15 1.23-.15t1.22.14q.61.15 1.17.44l.55.28Z"}]])

(def mark-o
  [:svg {:xmlns "http://www.w3.org/2000/svg"
         :viewBox "0 0 114 114"}
   [:path
    {:fill "none"
     :stroke "currentColor"
     :stroke-linecap "round"
     :stroke-width "6"
     :d "M74.616 8.935c7.73 2.38 15.96 9.34 21.58 16.04 5.63 6.69 10.57 15.46 12.18 24.11 1.6 8.65.74 19.67-2.53 27.77-3.27 8.11-10.12 15.37-17.09 20.88-6.98 5.51-16.07 10.81-24.76 12.17-8.7 1.35-19.32-.76-27.42-4.06-8.1-3.29-15.73-8.93-21.21-15.73-5.48-6.81-10.32-16.5-11.67-25.09-1.35-8.6.19-18.39 3.57-26.51 3.38-8.11 9.99-16.6 16.71-22.19 6.72-5.59 13.95-10.52 23.63-11.36 9.68-.84 28.04 4.34 34.45 6.32 6.42 1.97 4.37 4.6 4.04 5.55m-48.33-9.69c7.65-3.32 19.78-3.63 28.63-2.01 8.86 1.63 17.85 5.89 24.49 11.76 6.64 5.87 12.7 15.08 15.37 23.48 2.67 8.41 2.5 18.4.65 26.95-1.85 8.54-5.98 17.59-11.77 24.34-5.78 6.74-14.56 13.05-22.93 16.11-8.37 3.06-18.75 4.19-27.29 2.25-8.54-1.93-17.37-7.89-23.96-13.87-6.59-5.97-12.89-13.58-15.57-21.96-2.69-8.39-2.31-19.94-.56-28.34 1.75-8.4 5.21-15.74 11.06-22.09 5.85-6.35 19.92-13.32 24.04-16.01 4.12-2.7.37-1.1.67-.16"}]])
Add a new example to portfolio/tic_tac_toe/scenes.cljs:
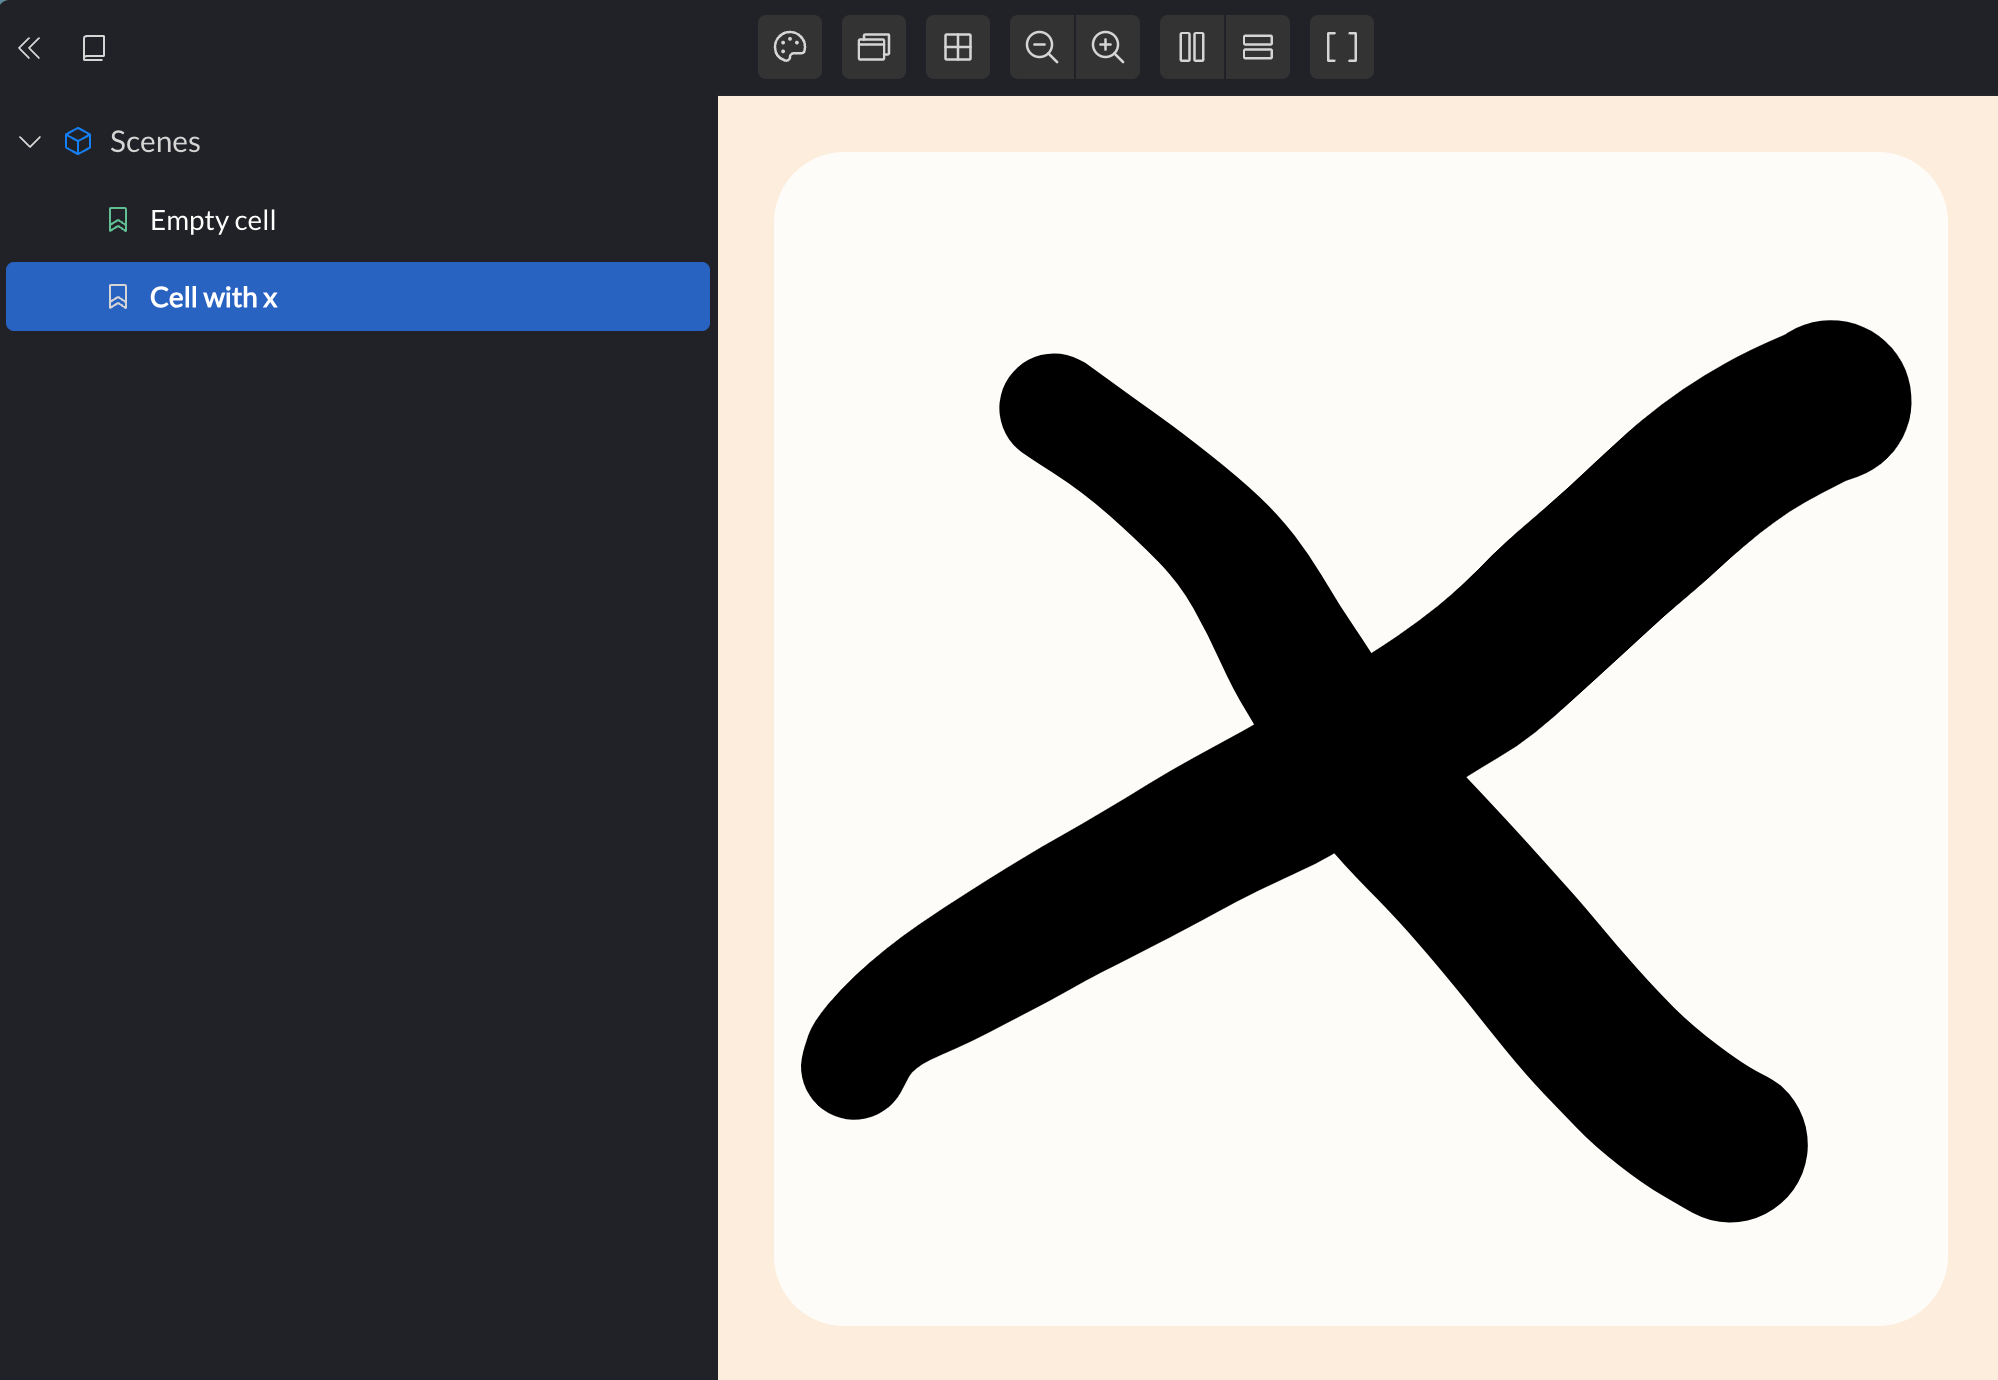
(defscene cell-with-x
  (ui/render-cell
   {:content ui/mark-x}))
This will display as empty as the last example, so we’ll need to add some code to the implementation:
(defn render-cell [{:keys [content]}]
  [:button.cell
   (when content
     [:div.cell-content
      content])])
Now we can clearly see an x.
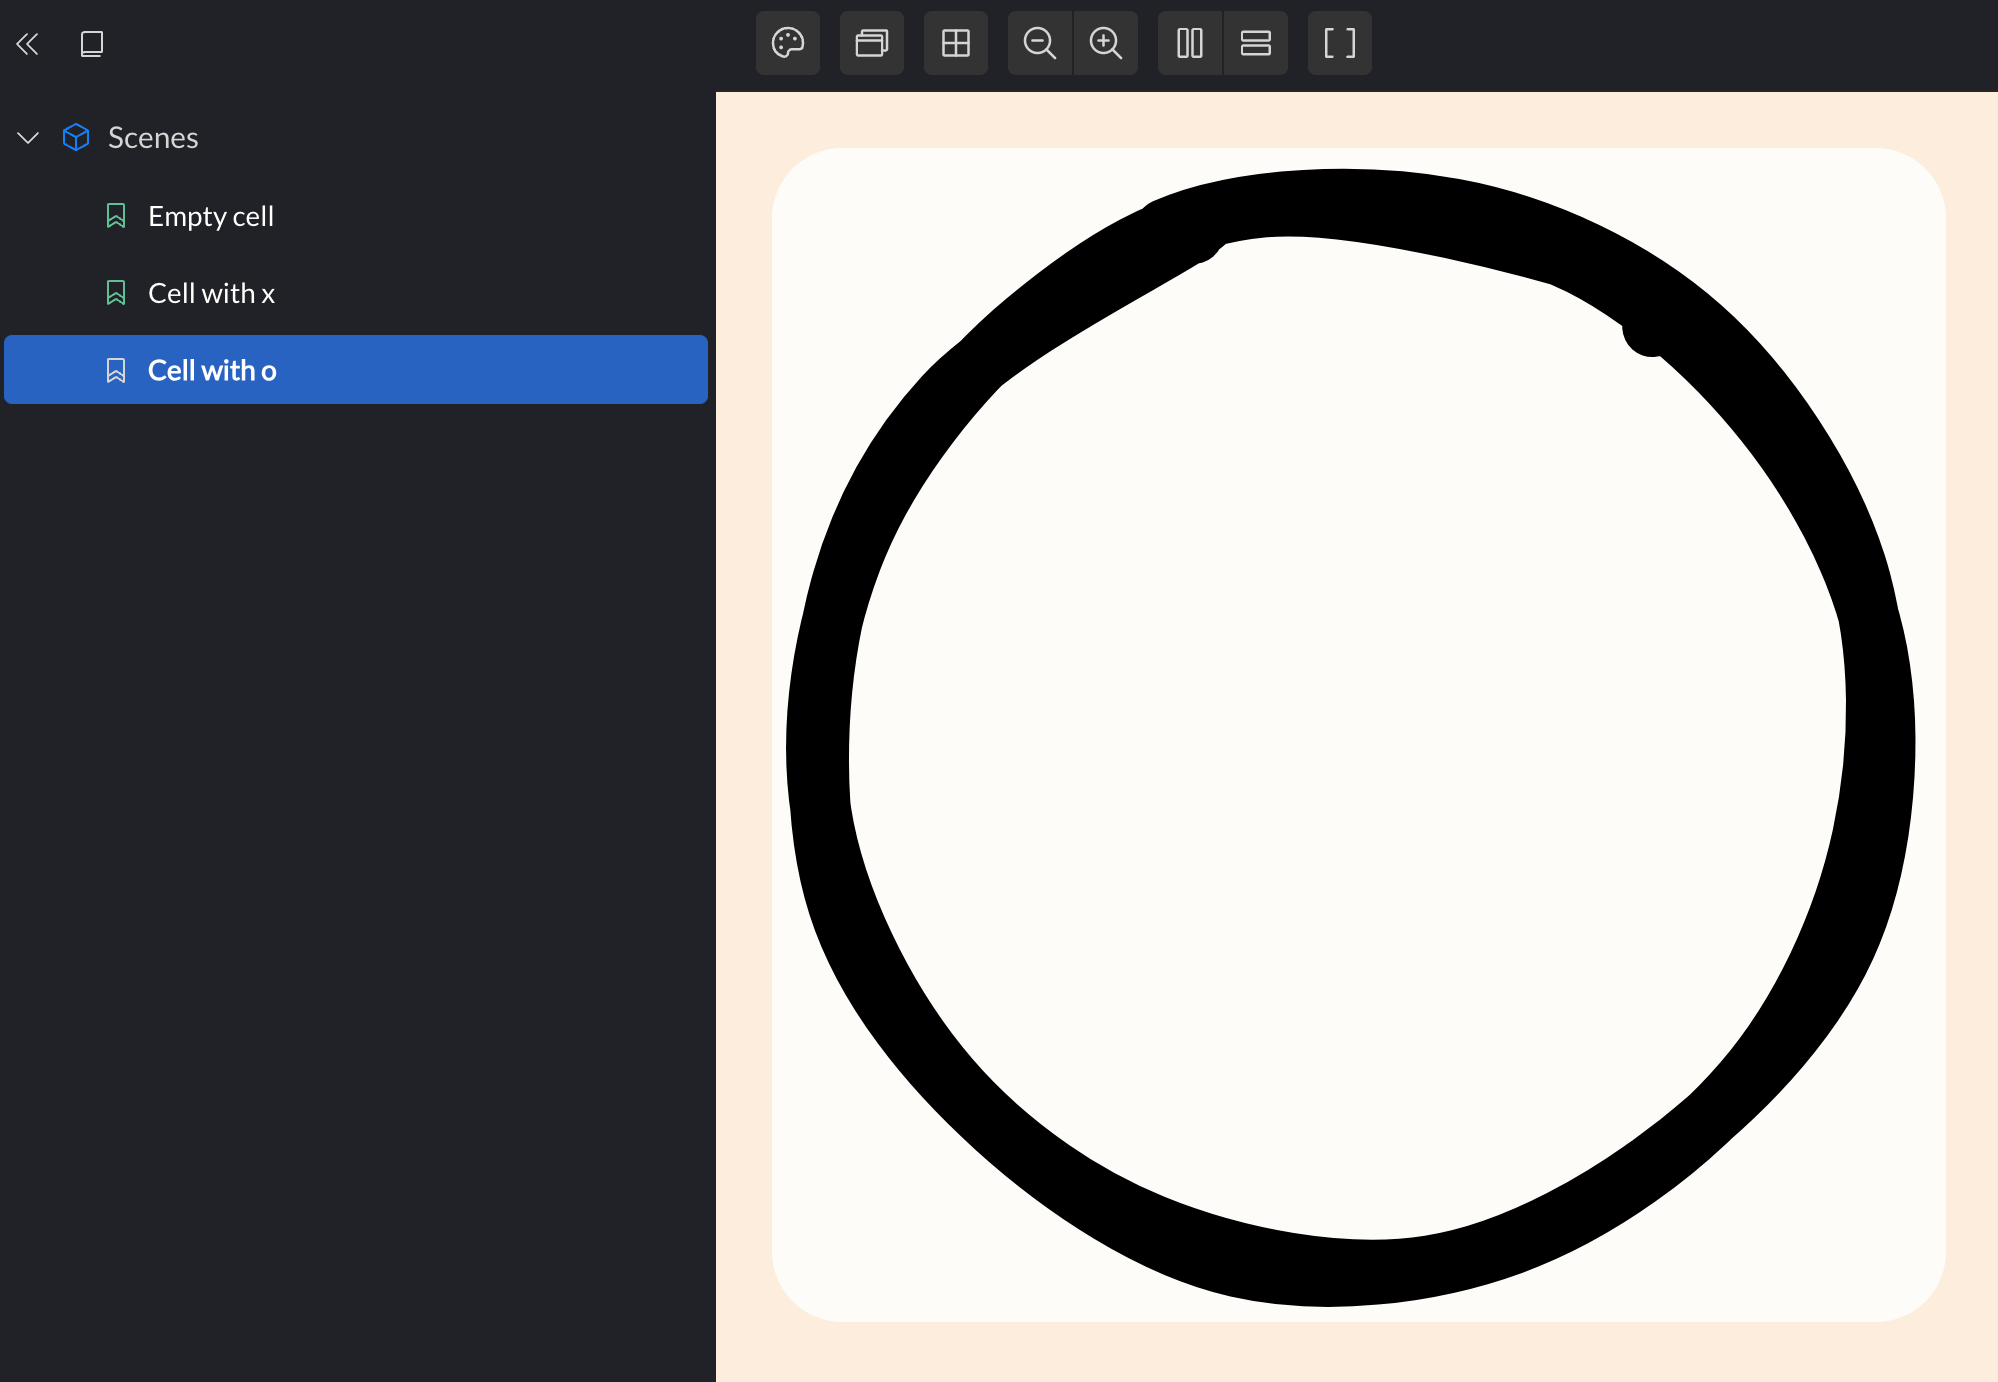
Let’s repeat the success with an example of the o:
(defscene cell-with-o
  (ui/render-cell
   {:content ui/mark-o}))
It would be a nice touch if the player’s mark faded in softly when clicking the cell. We can achieve this with a transition on mount. In order to trigger this, we can render an example from an atom, and pass in a click handler that toggles the mark on and off.
(defscene interactive-cell
  "Click the cell to toggle the tic on/off"
  :params (atom nil)
  [store]
  (ui/render-cell
   {:content @store
    :on-click (fn [_]
                (swap! store #(if % nil ui/mark-x)))}))
In order for this to work, the implementation must use :on-click as an event
handler:
(defn render-cell [{:keys [content on-click]}]
  [:button.cell
   {:on {:click on-click}}
   (when content
     [:div.cell-content
      content])])
With this change, clicking the scene in Portfolio will toggle the x on and off.
In order to add the transition, we can set the opacity to 1 and add a transition
on .cell-content, and add another class that sets the opacity to 0. We can use
Replicant’s mounting/unmounting attributes to
trigger the transition on mount (and unmount, just for the sake of the Portfolio
demonstration.
.cell-content {
    opacity: 1;
    transition: opacity 0.25s;
}

.transparent {
    opacity: 0;
}
Add the mounting and unmounting extra class like so:
(defn render-cell [{:keys [content on-click]}]
  [:button.cell
   {:on {:click on-click}}
   (when content
     [:div.cell-content
      {:replicant/mounting {:class "transparent"}
       :replicant/unmounting {:class "transparent"}}
      content])])
That’s all it takes to smoothly fade in the symbol on click:
When the game is over, we want to dim out all the cells, except the winning line, which we’ll highlight. Let’s add two more examples:
(defscene dimmed-cell
  (ui/render-cell
   {:content ui/mark-o
    :dim? true}))

(defscene highlighted-cell
  (ui/render-cell
   {:content ui/mark-o
    :highlight? true}))
These will both toggle each their class:
.cell-dim {
    background: rgba(249, 249, 240, 0.3);
}

.cell-highlight {
    background: #fcfcf3;
}
And the updated implementation:
(defn render-cell [{:keys [content on-click dim? highlight?]}]
  [:button.cell
   {:on {:click on-click}
    :class (cond-> []
             dim? (conj "cell-dim")
             highlight? (conj "cell-highlight"))}
   (when content
     [:div.cell-content
      {:replicant/mounting {:class "transparent"}
       :replicant/unmounting {:class "transparent"}}
      content])])
Note that we can combine classes from the “selector” (:button.cell) with the
:class attribute, which can take a collection of classes.
In the game, we want all the empty cells to be clickable, but not the ones that already have marks in them. The UI elements should not encapsulate any business logic at all, they should be purely data-driven. So we need to add to the cell the option of presenting as clickable or not:
(defn render-cell [{:keys [content on-click dim? highlight? clickable?]}]
  [:button.cell
   {:on {:click on-click}
    :class (cond-> []
             dim? (conj "cell-dim")
             highlight? (conj "cell-highlight")
             clickable? (conj "clickable"))}
   (when content
     [:div.cell-content
      {:replicant/mounting {:class "transparent"}
       :replicant/unmounting {:class "transparent"}}
      content])])
The CSS is a one-liner:
.clickable {
    cursor: pointer;
}
We don’t need to add a dedicated example for this feature, but we can add
:clickable? true to the empty cell and the interaction example.
The board
The board will draw a bunch of cells on screen. When rendering the game, we’ll need to specify details about all the cells, so the data structure we pass to the board element might as well be a two dimensional collection of rows and columns:
(defscene empty-board
  (ui/render-board
   {:rows [[{} {} {}]
           [{} {} {}]
           [{} {} {}]]}))
(defn render-board [{:keys [rows]}]
  [:div.board
   (for [row rows]
     [:div.row
      (for [cell row]
        (render-cell cell))])])
Flexbox will do all the heavy lifting for the board. We’ll also add a gradient
background for a smashing look. Since the board is square, setting its max width
to 80vh means it’ll never be so long that it requires scrolling (its max
height will also effectively be 80% of the browser height).
.board {
    --gap: 0.75rem;
    background: #833ab4;
    background: linear-gradient(90deg, #833ab4 0%, #fd1d1d 50%, #fcb045 100%);
    display: flex;
    flex-direction: column;
    gap: var(--gap);
    padding: var(--gap);
    max-width: 80vh;
}

.row {
    display: flex;
    flex-direction: row;
    gap: var(--gap);
}

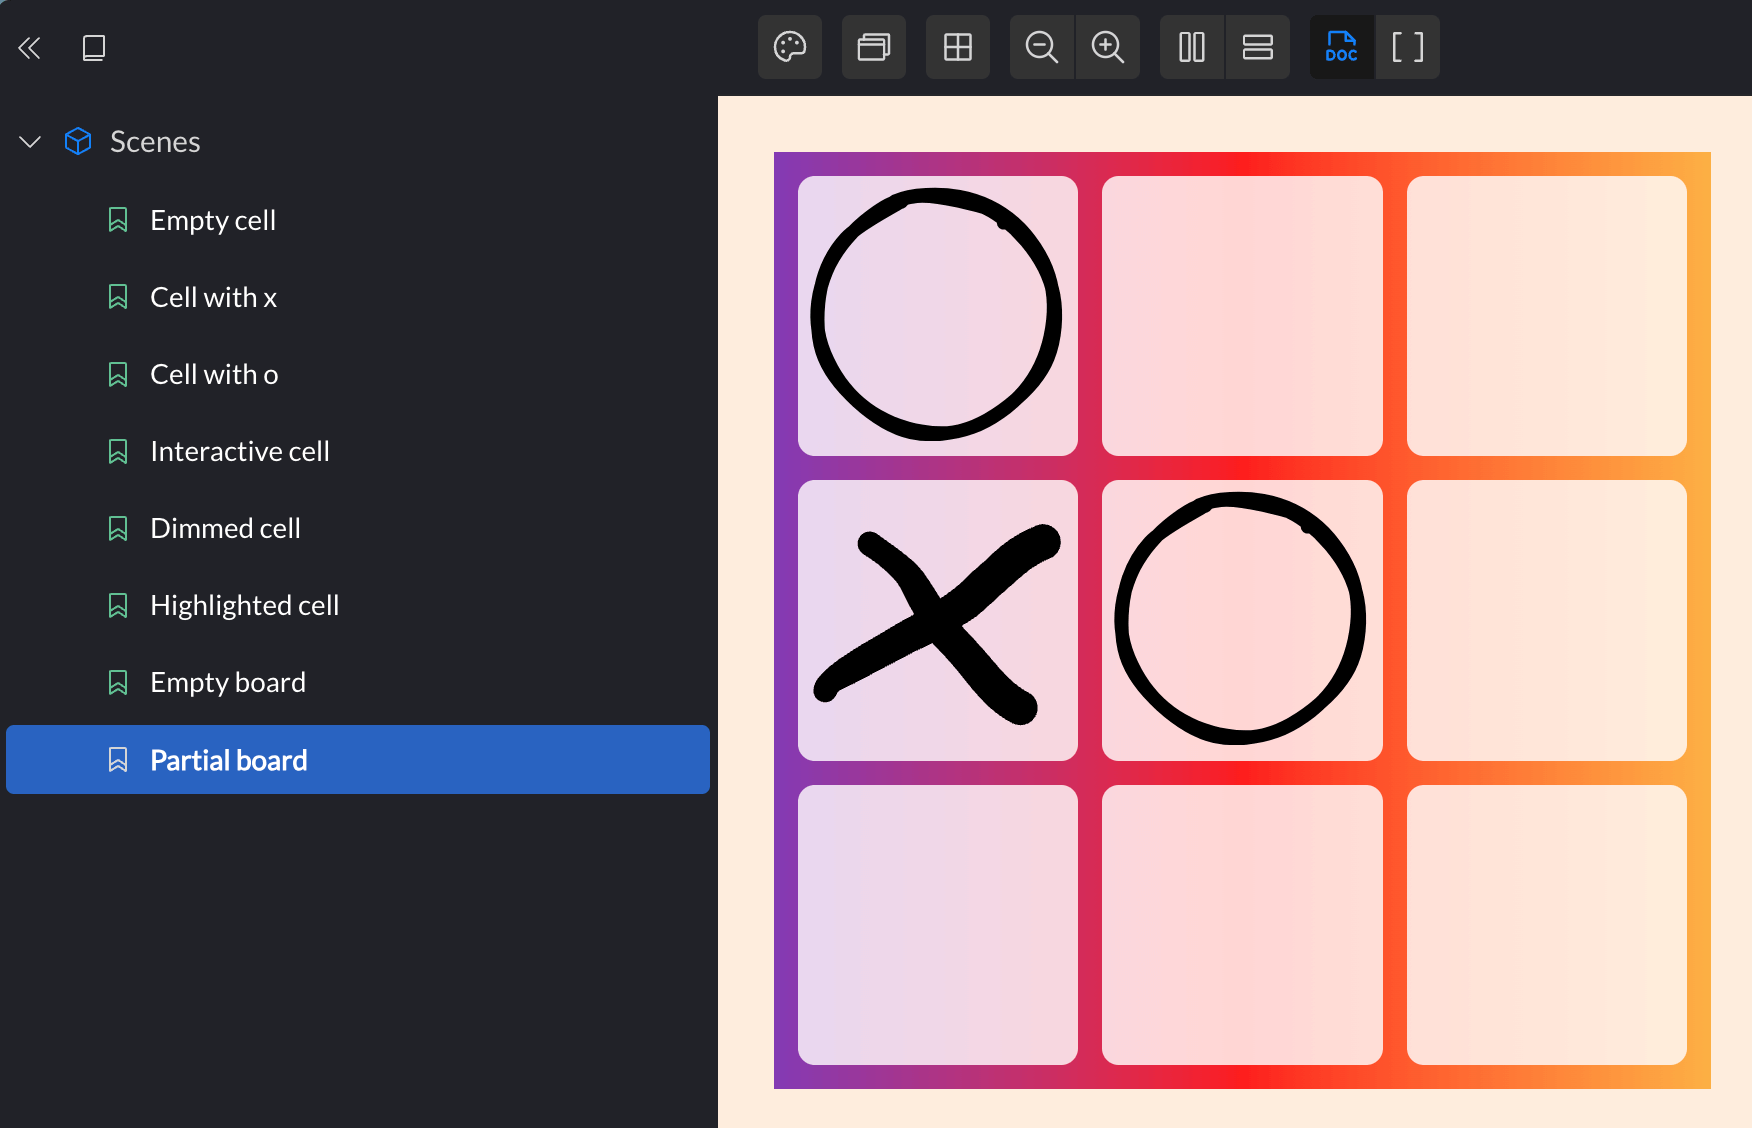
There isn’t that much more to do for the board, but a couple of more examples would be nice. Here’s one where the game is somewhat underway. Looks like x is gotta be careful!
(defscene partial-board
  (ui/render-board
   {:rows [[{:content ui/mark-o} {} {}]
           [{:content ui/mark-x} {:content ui/mark-o} {}]
           [{} {} {}]]}))
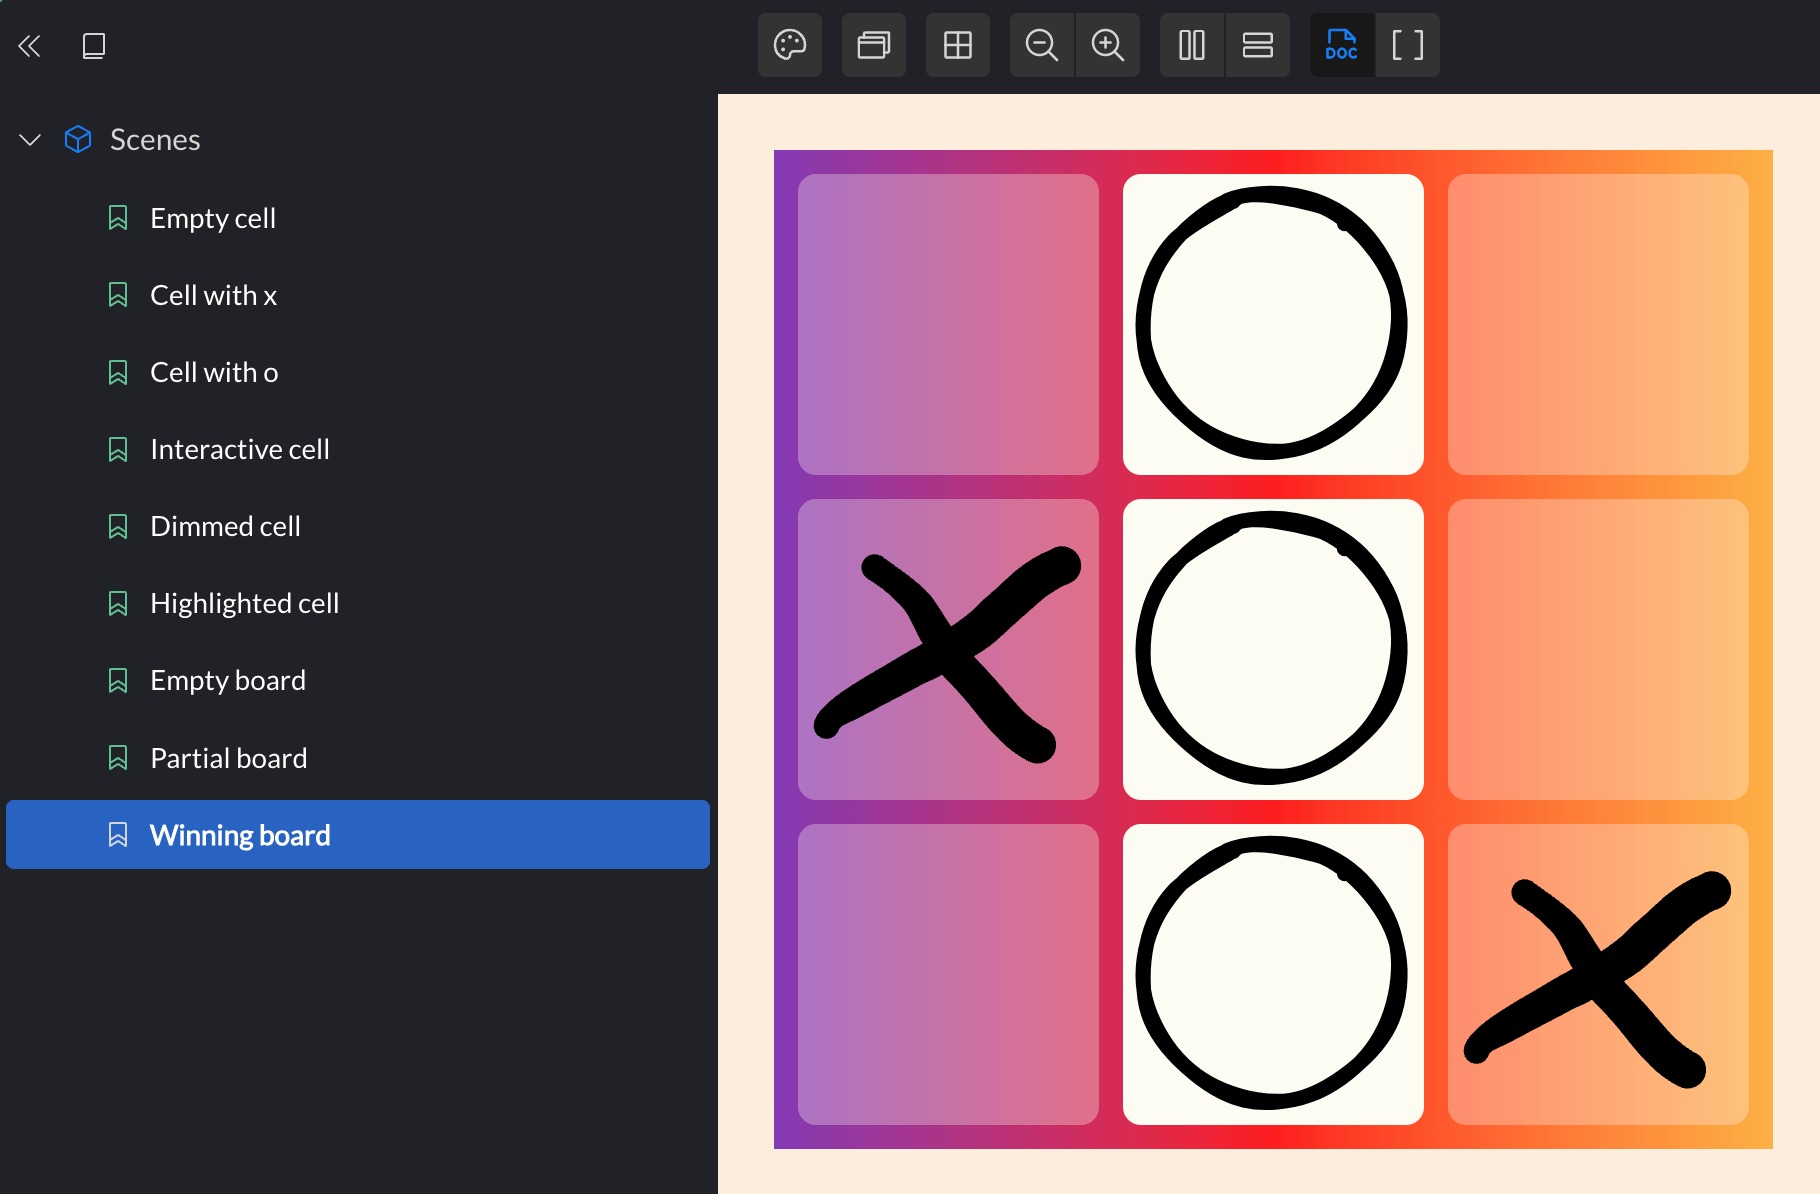
And finally, we’ll demonstrate all the features at once, in a board for a finished game, where the winning line is highlighted:
(defscene winning-board
  (ui/render-board
   {:rows [[{:dim? true}
            {:content ui/mark-o
             :highlight? true}
            {:dim? true}]

           [{:content ui/mark-x :dim? true}
            {:content ui/mark-o :highlight? true}
            {:dim? true}]

           [{:dim? true}
            {:content ui/mark-o :highlight? true}
            {:content ui/mark-x :dim? true}]]}))
And that’s pretty much all the UI elements we need for the essential game play.
§ The game engine
To breathe life into the UI elements, we need to flesh out a data model and implement the rules of the game. We don’t want to be bogged down in details about rounded corners and transitions while implementing the nitty gritty of deciding if there’s a winner, so we’ll do this with just pure data.
We will use tests in place of Portfolio to keep a tight feedback loop. We’ll
start by creating a game and expect it to select x for the next (e.g. first)
player. Open test/tic_tac_toe/game_test.clj and add the following:
(ns tic-tac-toe.game-test
  (:require [clojure.test :refer [deftest is testing]]
            [tic-tac-toe.game :as game]))

(deftest tic-tac-toe-test
  (testing "X is the starting player"
    (is (= (game/create-game {:size 3})
           {:next-player :x
            :size 3}))))
The implementation is straight-forward, in src/tic_tac_toe/game.cljc:
(ns tic-tac-toe.game)

(defn create-game [{:keys [size]}]
  {:next-player :x
   :size size})
The tests can be run from the terminal like so:
clojure -M:dev -m kaocha.runner
To keep them running and re-run on every code change, add --watch:
clojure -M:dev -m kaocha.runner --watch
For our next test, let’s place a tic for player x:
(testing "X places a tic"
  (is (= (-> (game/create-game {:size 3})
             (game/tic 0 0))
         {:size 3
          :tics {[0 0] :x}
          :next-player :o})))
Since the game already knows whose turn it is, we don’t need to pass it explicitly:
(def next-player {:x :o, :o :x})

(defn tic [game y x]
  (let [player (:next-player game)]
    (-> game
        (assoc-in [:tics [y x]] player)
        (assoc-in :next-player (next-player player)))))
Next, we’ll test placing another mark:
(testing "O places a tic"
  (is (= (-> (game/create-game {:size 3})
             (game/tic 0 0)
             (game/tic 0 1))
         {:size 3
          :tics {[0 0] :x
                 [0 1] :o}
          :next-player :x})))
This is a nice test to have, but it doesn’t ask anything new of our function. For our next test, let’s make sure players can’t tic the same cell:
(testing "Can't tic-tac on the same spot"
  (is (= (-> (game/create-game {:size 3})
             (game/tic 0 0)
             (game/tic 0 0))
         {:size 3
          :next-player :o
          :tics {[0 0] :x}})))
This test fails because our current implementation allows the o player overwrite the x. Not good, let’s fix it:
(defn tic [game y x]
  (let [player (:next-player game)]
    (if (get-in game [:tics [y x]])
      game
      (-> game
          (assoc-in [:tics [y x]] player)
          (assoc :next-player (next-player player))))))
This simply ignores moves on already marked cells. We can do the same for attempts at tic-ing outside the board:
(testing "Can't tic outside the board"
  (is (= (-> (game/create-game {:size 3})
             (game/tic 3 0))
         {:size 3
          :next-player :x}))

  (is (= (-> (game/create-game {:size 3})
             (game/tic 0 3))
         {:size 3
          :next-player :x})))
We can pass this test with a check against the board size:
(defn tic [game y x]
  (let [player (:next-player game)]
    (if (or (get-in game [:tics [y x]])
            (<= (:size game) x)
            (<= (:size game) y))
      game
      (-> game
          (assoc-in [:tics [y x]] player)
          (assoc :next-player (next-player player))))))
§ Converting domain data to UI data
At this point we have a playable game, even if it can’t yet decide when the game is over, or whether there is a winner. If we connect the game engine to the UI elements, we can try what we have so far.
The Portfolio scenes describe the data needed to render the game:
(defscene partial-board
  (ui/render-board
   {:rows [[{:content ui/mark-o} {} {}]
           [{:content ui/mark-x} {:content ui/mark-o} {}]
           [{} {} {}]]}))
The game engine tests demonstrates what data we actually have:
(testing "O places a tic"
  (is (= (-> (game/create-game {:size 3})
             (game/tic 0 0)
             (game/tic 0 1))
         {:size 3
          :tics {[0 0] :x
                 [0 1] :o}
          :next-player :x})))
Why didn’t we match these up better? The UI elements are generic: they visualize cells with arbitrary content in the square grid of a board. We could imagine using the same UI elements to render other square grid based games like memo, minesweeper, etc.
This point may seem a little contrived, and that’s because we’re making a game. Games often have specialized UI elements. The business applications you will be building typically don’t: they combine forms, lists, buttons and navigation bars in various ways.
To bridge the gap between the two worlds, we will write a function that translates the game engine state – our business domain data – to the format used by the UI elements – the UI domain data. We can do this guided by tests as well.
Add another test, test/tic_tac_toe/ui_test.cljc. We will include one detail
that was left out of the hand-written Portfolio example: making all the
available cells clickable. But what should we do on click? Place the next mark
on the clicked cell. We’ll include some click data in the available cells, later
we will handle those in a global event handler.
(ns tic-tac-toe.ui-test
  (:require [tic-tac-toe.ui :as ui]
            [clojure.test :refer [deftest is testing]]))

(deftest game->ui-data-test
  (testing "Converts game data to UI data"
    (is (= (ui/game->ui-data
            {:size 3
             :tics {[0 0] :x
                    [0 1] :o}
             :next-player :x}
             {:x "x"
             :o "o"})
           {:rows [[{:content "x"}
                    {:content "o"}
                    {:clickable? true
                     :on-click [:tic 0 2]}]

                   [{:clickable? true, :on-click [:tic 1 0]}
                    {:clickable? true, :on-click [:tic 1 1]}
                    {:clickable? true, :on-click [:tic 1 2]}]

                   [{:clickable? true, :on-click [:tic 2 0]}
                    {:clickable? true, :on-click [:tic 2 1]}
                    {:clickable? true, :on-click [:tic 2 2]}]]}))))
This test nicely captures how our domain is converted to a user interface, without getting distracted by details about styling, transitions, accessibility details, etc. And it’s a simple unit test, no complicated web driver tooling was necessary.
To pass this we will generate the board by looping over each coordinate in the grid, as dictated by the game’s size. Each cell either has a tic, or is available to tac:
(defn game->ui-data [{:keys [size tics]} player->mark]
  {:rows
   (for [y (range size)]
     (for [x (range size)]
       (if-let [player (get tics [y x])]
         {:content (player->mark player)}
         {:clickable? true
          :on-click [:tic y x]})))})
§ Wiring
With all the pieces in place, we can wire the whole thing together. Step one is to create a game and store it in an atom. When a player makes a move, we will call the game engine, and swap in the updated game in the atom. Every time the atom is updated, we render the UI.
(ns tic-tac-toe.core
  (:require [replicant.dom :as r]
            [tic-tac-toe.game :as game]
            [tic-tac-toe.ui :as ui]))

(defn start-new-game [store]
  (reset! store (game/create-game {:size 3})))

(defn main [store]
  (let [el (js/document.getElementById "app")]

    ;; Render on every change
    (add-watch store ::render
               (fn [_ _ _ game]
                 (->> (ui/game->ui-data game {:x ui/mark-x :o ui/mark-o})
                      ui/render-board
                      (r/render el))))))
The atom watcher sums up our approach: convert domain data (game) to UI data,
convert UI data to hiccup, and finally tell Replicant to update the DOM. But
don’t load this up in the browser yet, because Replicant will refuse to render
it.
Since we opted to make our event handler data, we need
to register a global event handler so Replicant knows what to do with them. We
can do that with replicant.dom/set-dispatch!:
(defn main [store]
  (let [el (js/document.getElementById "app")]

    ;; Globally handle DOM events
    (r/set-dispatch!
     (fn [_ event-handler-data]
       (prn event-handler-data)))

    ;; Render on every change
    (add-watch store ::render
               (fn [_ _ _ game]
                 (->> (ui/game->ui-data game {:x ui/mark-x :o ui/mark-o})
                      ui/render-board
                      (r/render el))))))
With this in place, you can head over to
http://localhost:8080/ and view the result of our
labor. When you click cells, you will see the :on-click data printed to the
console:
[:tic 1 0]
[:tic 2 1]
[:tic 1 1]
We will treat these as small commands, using the first keyword to decide what to do:
;; Globally handle DOM events
(r/set-dispatch!
 (fn [_ [action & args]]
   (case action
     :tic (apply swap! store game/tic args))))
With this change in place, you can click the cells to mark them with alternating x’s and o’s. Success!
§ Epilogue: Declaring the winner
The UI elements we wrote can dim and highlight cells, a feature we planned to use to showcase the winner. In order to use these, we’ll need the game engine to check for winners after each tic. As usual, let’s start with a test:
(testing "Detects row victory"
  (is (= (-> (game/create-game {:size 3})
             (game/tic 0 0) ;; x
             (game/tic 1 0) ;; o
             (game/tic 0 1) ;; x
             (game/tic 1 1) ;; o
             (game/tic 0 2) ;; x
             (select-keys [:over? :victory]))
         {:over? true
          :victory {:player :x
                    :path [[0 0] [0 1] [0 2]]}})))
Here we expect the game to be declared :over? and have the winning player and
path when the third mark in a row is placed. This will take some work to figure
out.
Finding the winning row
To find the winning row, we will check that the row we just tic-ed contains the same player in all cells. We’ll create a helper function to do this:
(defn get-winning-path [{:keys [size tics]} y x]
  (let [row (mapv #(vector y %) (range 0 size))]
    (when (= 1 (count (set (map tics row))))
      row)))
This starts by making a vector of all the positions of the row through y. Then
it looks up all positions in the tics map. If all of them are the same, we
have a winner. Note that this would also consider three empty cells a “winner”,
we will always call it with a newly marked cell, so there’s really no need to
“solve” that problem.
We can use this new function from another helper function that possibly marks a
game as won, which will call from tic:
(defn maybe-conclude [game y x]
  (if-let [path (get-winning-path game y x)]
    (-> (dissoc game :next-player)
        (assoc :over? true
               :victory {:player (get-in game [:tics [y x]])
                         :path path}))
    game))

(defn tic [game y x]
  (let [player (:next-player game)]
    (if (or (get-in game [:tics [y x]])
            (<= (:size game) x)
            (<= (:size game) y))
      game
      (-> game
          (assoc-in [:tics [y x]] player)
          (assoc :next-player (next-player player))
          (maybe-conclude y x)))))
To try this out in practice, we will add a test for the domain data to UI data conversion that expects a victorious path to be highlighted:
(testing "Highlights winning path"
  (is (= (-> (game/create-game {:size 3})
             (game/tic 0 0) ;; x
             (game/tic 1 0) ;; o
             (game/tic 0 1) ;; x
             (game/tic 1 1) ;; o
             (game/tic 0 2) ;; x
             (ui/game->ui-data {:x "x" :o "o"})
             :rows)
         [[{:content "x", :highlight? true}
           {:content "x", :highlight? true}
           {:content "x", :highlight? true}]

          [{:content "o", :dim? true}
           {:content "o", :dim? true}
           {:dim? true}]

          [{:dim? true}
           {:dim? true}
           {:dim? true}]])))
We’ll need to add some ifs and buts to satisfy this test:
(defn game->ui-data [{:keys [size tics victory]} player->mark]
  (let [highlight? (set (:path victory))]
    {:rows
     (for [y (range size)]
       (for [x (range size)]
         (if-let [player (get tics [y x])]
           (let [victorious? (highlight? [y x])]
             (cond-> {:content (player->mark player)}
               victorious? (assoc :highlight? true)
               (and victory (not victorious?)) (assoc :dim? true)))
           (if victory
             {:dim? true}
             {:clickable? true
              :on-click [:tic y x]}))))}))
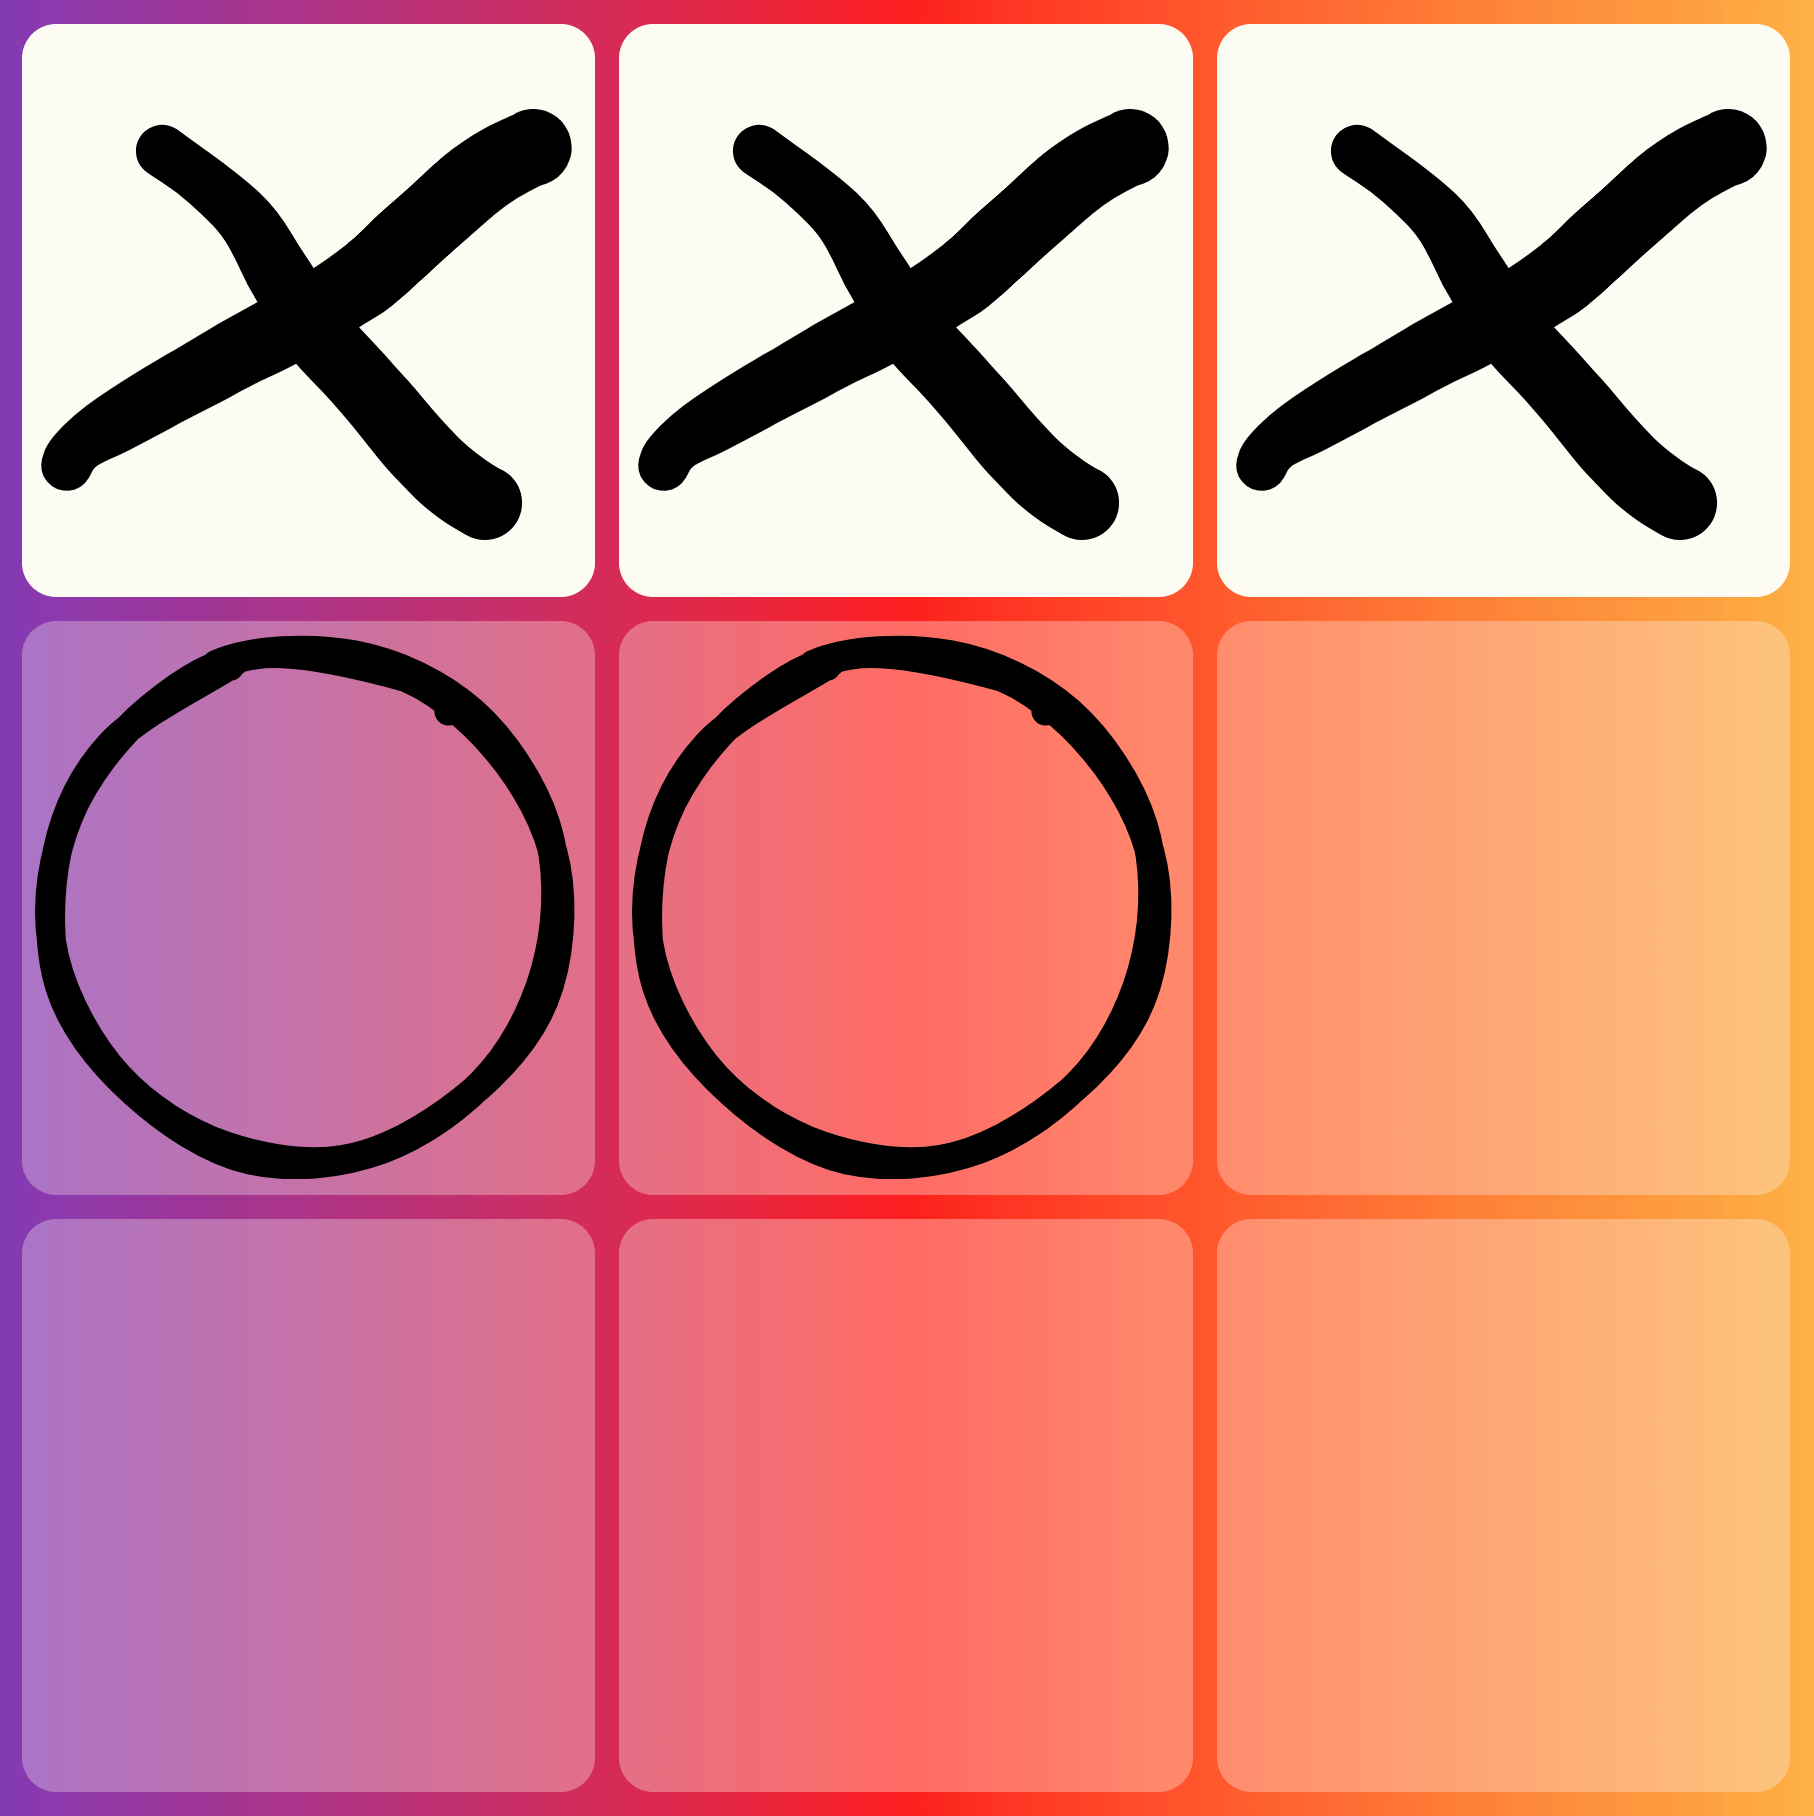
With the test passing, winning the game on a row will end up in a nicely highlighted victory.
The UI is now pretty much done, but we still won’t get column and diagonal victories highlighted. To solve those, we need two more tests and fleshing out the rest of the game engine. You can find the remaining details in the tutorial github repo.
If you’d like a challenge, check out the almost-there tag and try to solve the following tasks:
- Highlight winning columns (requires a test for and changes in
game.cljc) - Highlight winning diagonals (requires a test for and changes in
game.cljc) - Dim the entire game on ties (requires changes in both
game.cljcandui.cljc, specifically thegame->ui-datafunction) - Extra challenge: Add a button to the page to reset the game after it’s over
All these are solved on the main branch in the tutorial repo. Good luck, and have fun!